How to set up the Multimedia Computer for Faithlife Proclaim and Livestream Integration
Faithlife Proclaim is a powerful tool for presenting worship content, and integrates with our projection and livestream systems to ensure a seamless experience for both in-person and online audiences. This guide explains how to configure the multimedia computer to display Proclaim on the main projector, send a confidence monitor feed via AirPlay, and share the presentation with OBS on the livestreaming computer using NDI.
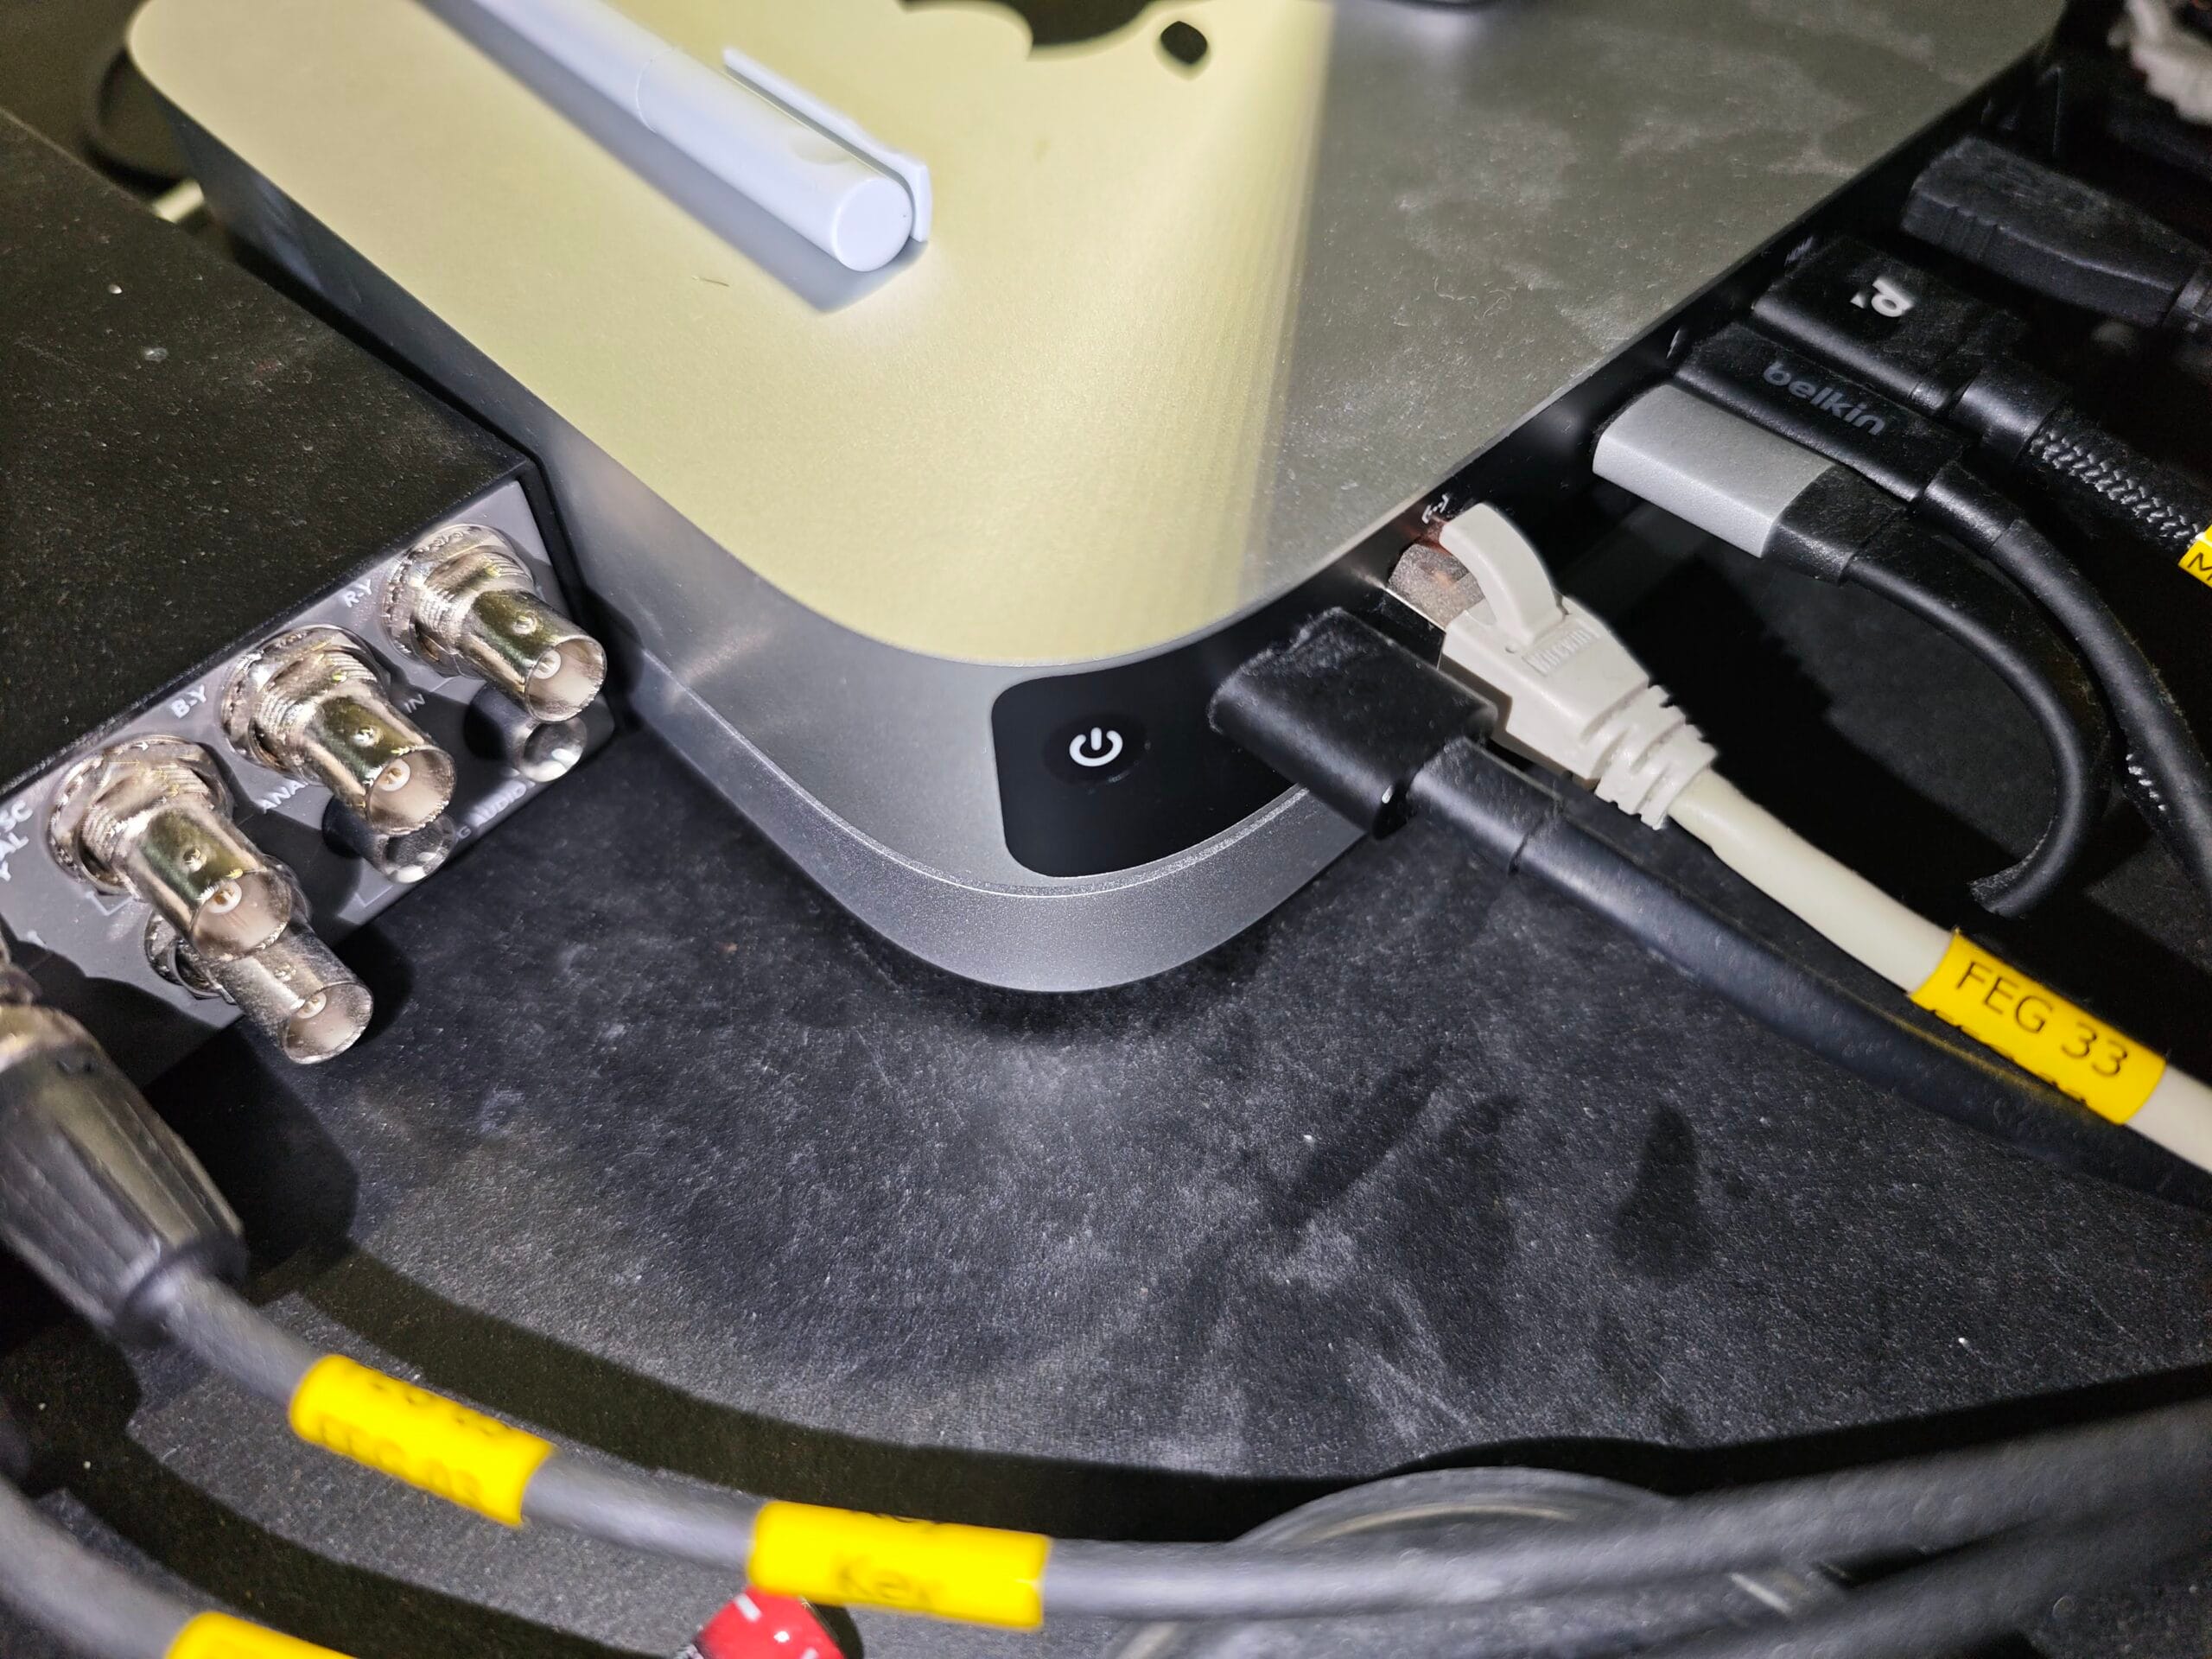
Power up the computer

Power button on back of Mac Mini After the production desk is powered up, the multimedia computer (Mac Mini) can be started up by pressing the power button on its rear right. This will boot into MacOS and should automatically log in.
Should it still ask for a password, enter Technik@FEG.
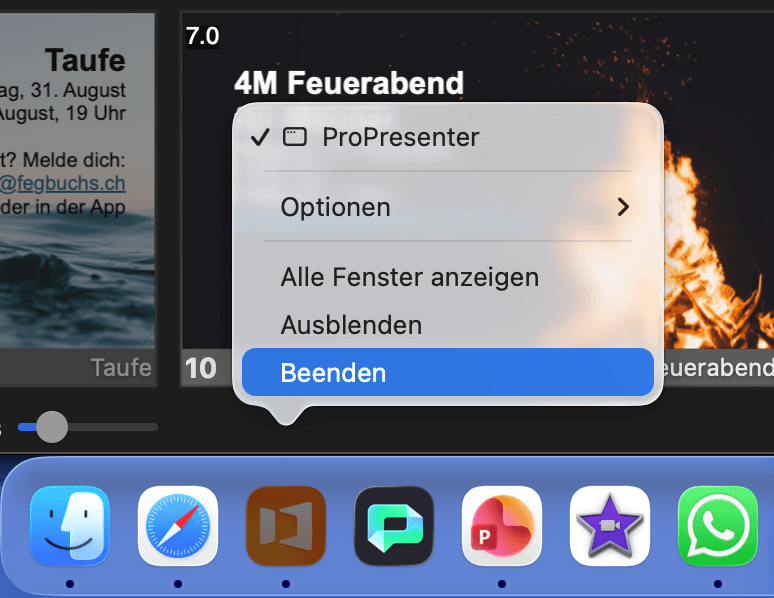
Close FEG Projection Software

Close ProPresenter FEG has configured this computer to automatically start their presentation software, ProPresenter. This need to be closed so our presenter, Proclaim, can connect to the projector.
Find the ProPresenter icon in the dock, click it with the right mouse button, and choose Beenden. After this, there should no longer be a black dot beneath the icon.
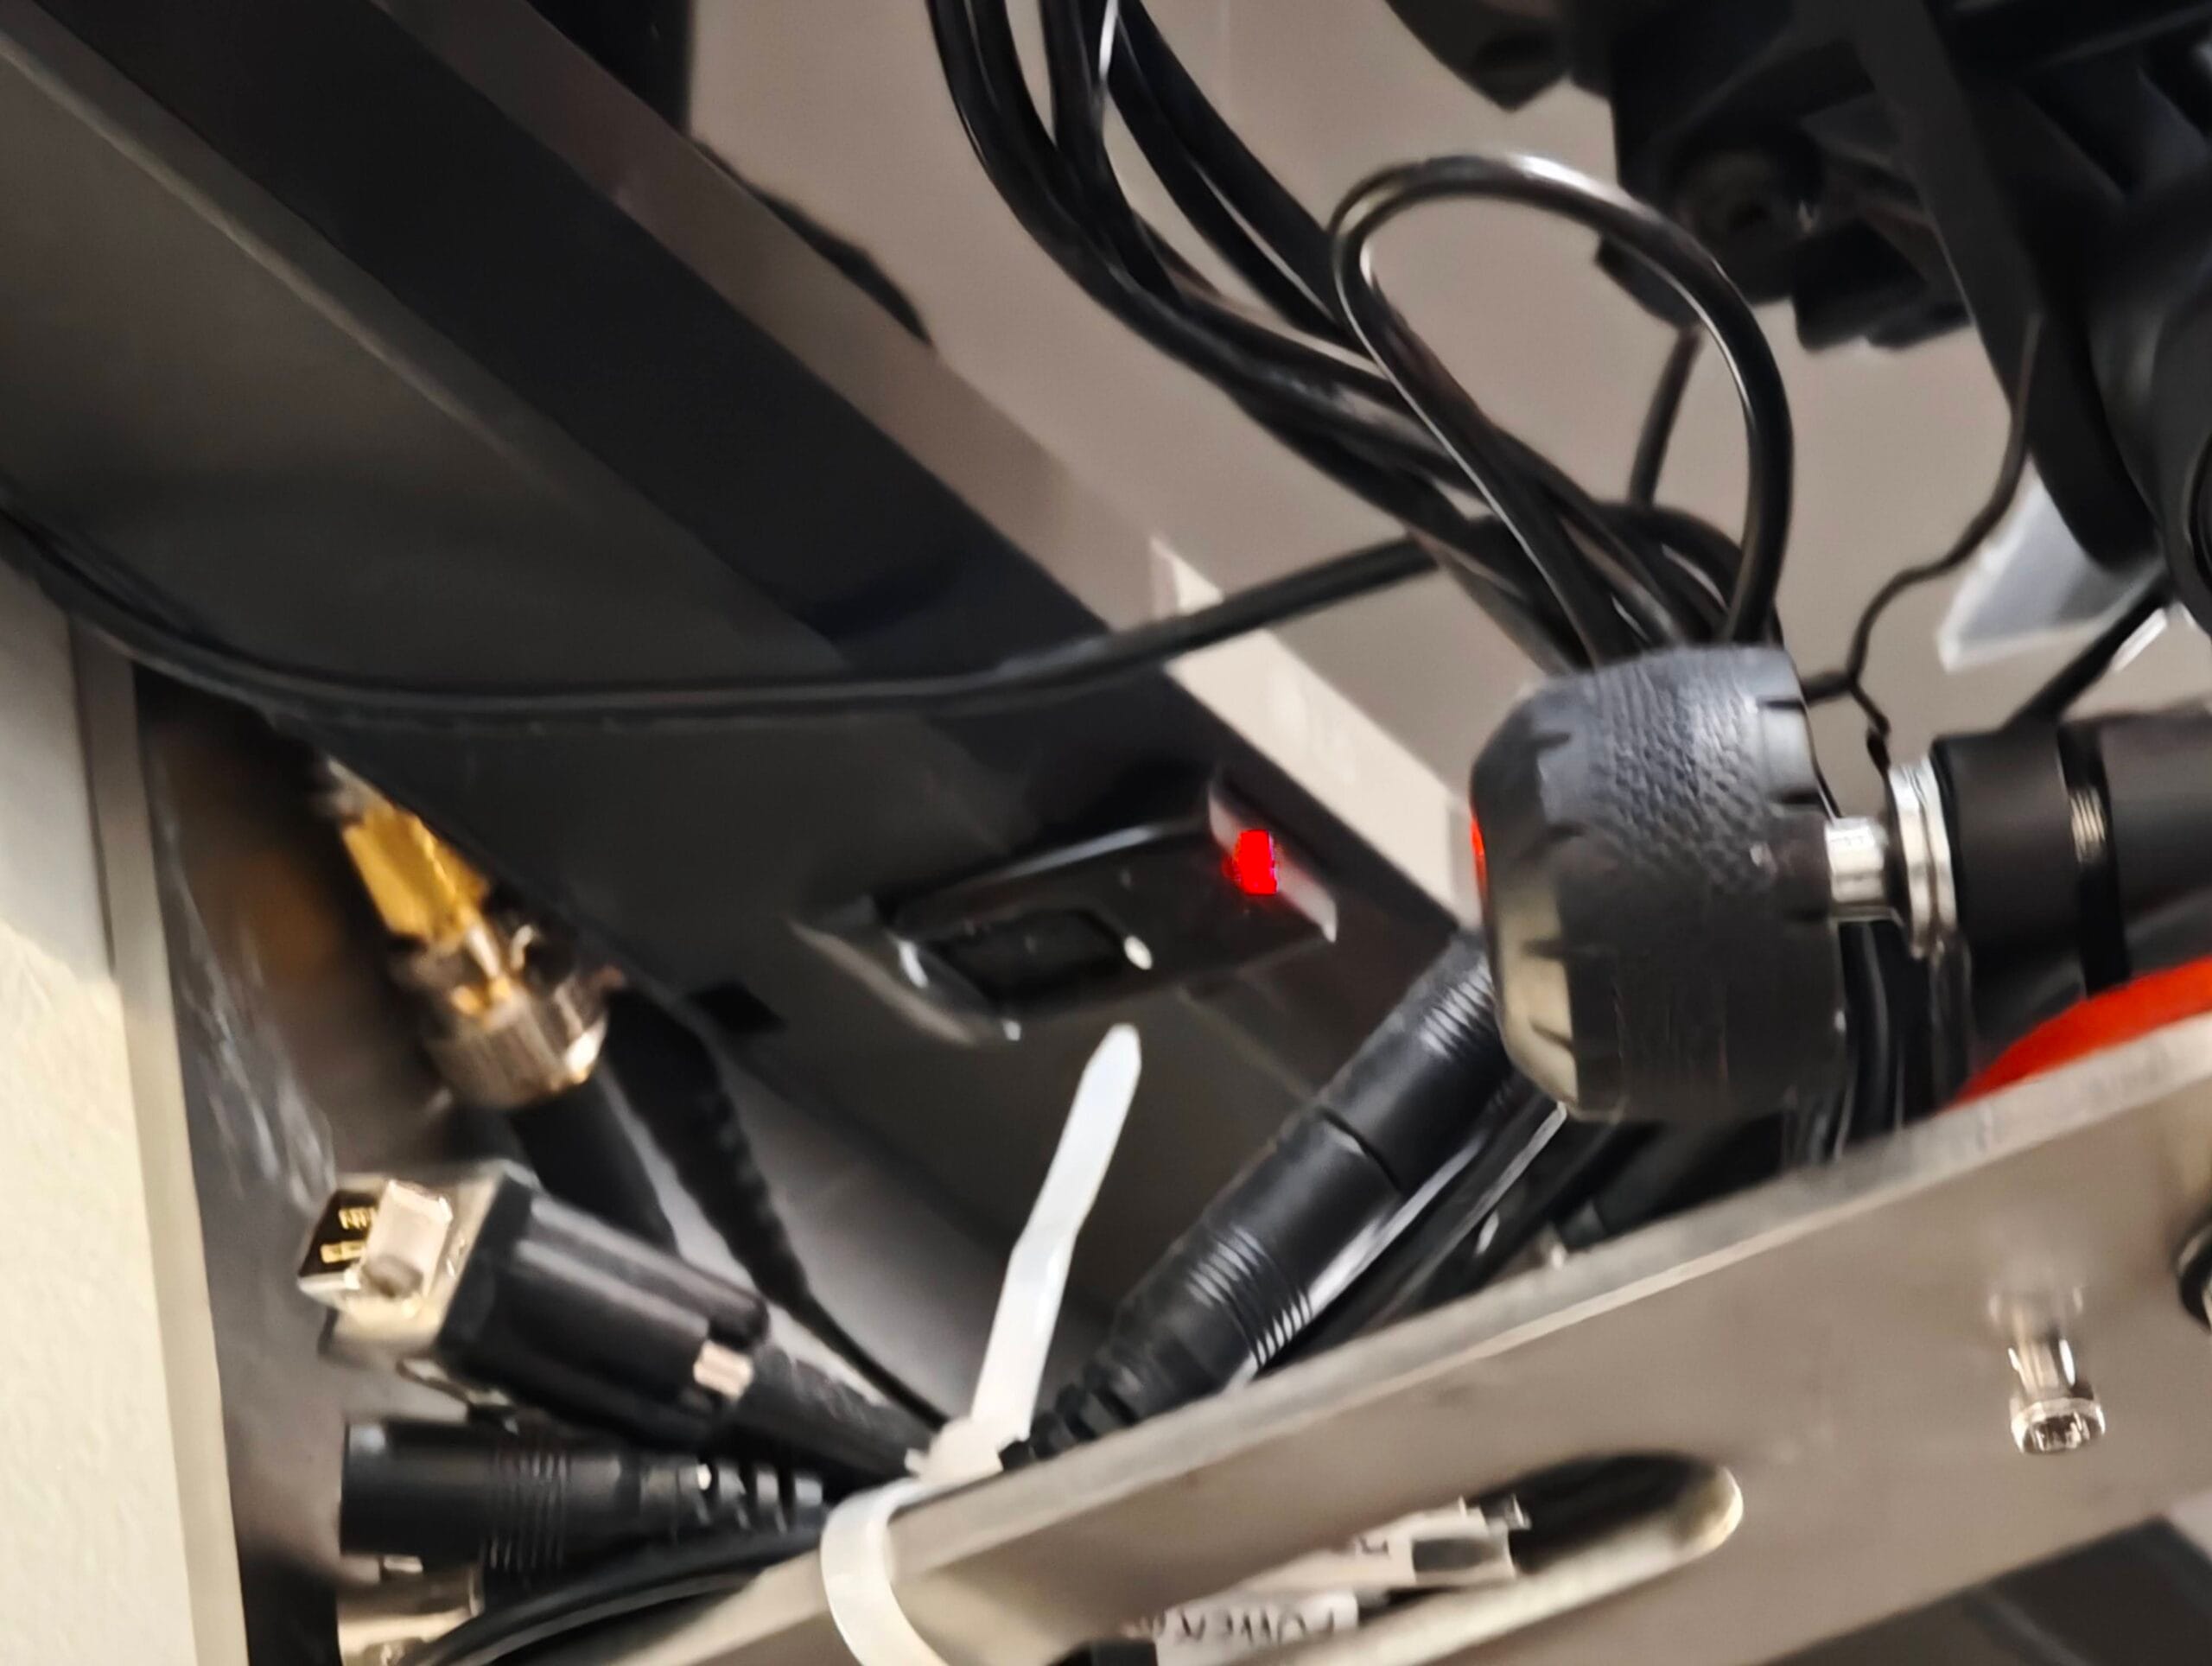
Check if the Stage Display is powered on

Red light means Display is in Standby The Stage Display powers up together with the rest of the production equipment. However, sometimes it goes to standby shortly after. If this red light is seen, use the LG remote to switch the TV on.
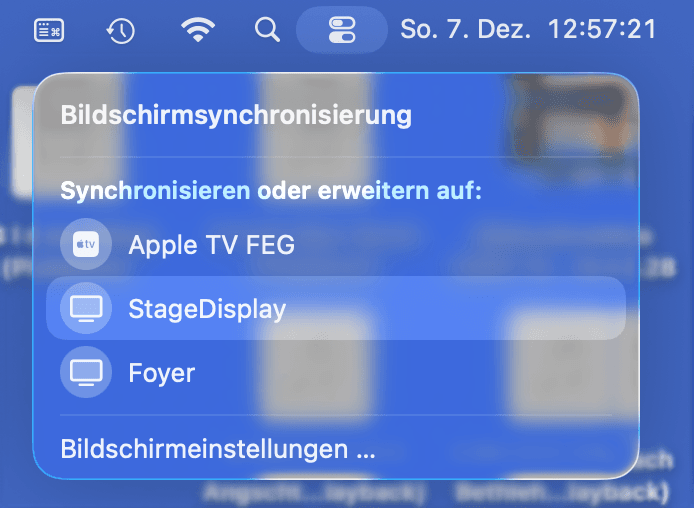
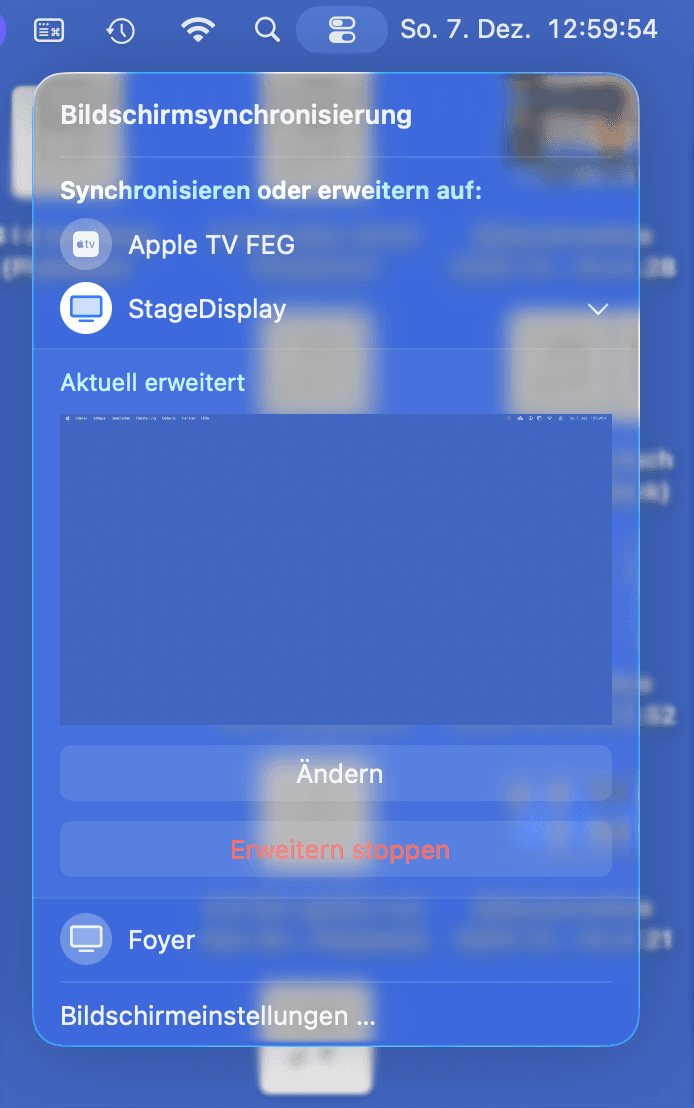
Open the Control Center

Control Center Click the Control Center button at the top right, then click the button for screen sync.
Sync to the StageDisplay

StageDisplay in the list of available screens. Click the StageDisplay in this list.
Check for successful screen sync

Successfully connected to the StageDisplay. If successful, a small preview of the StageDisplay is shown.
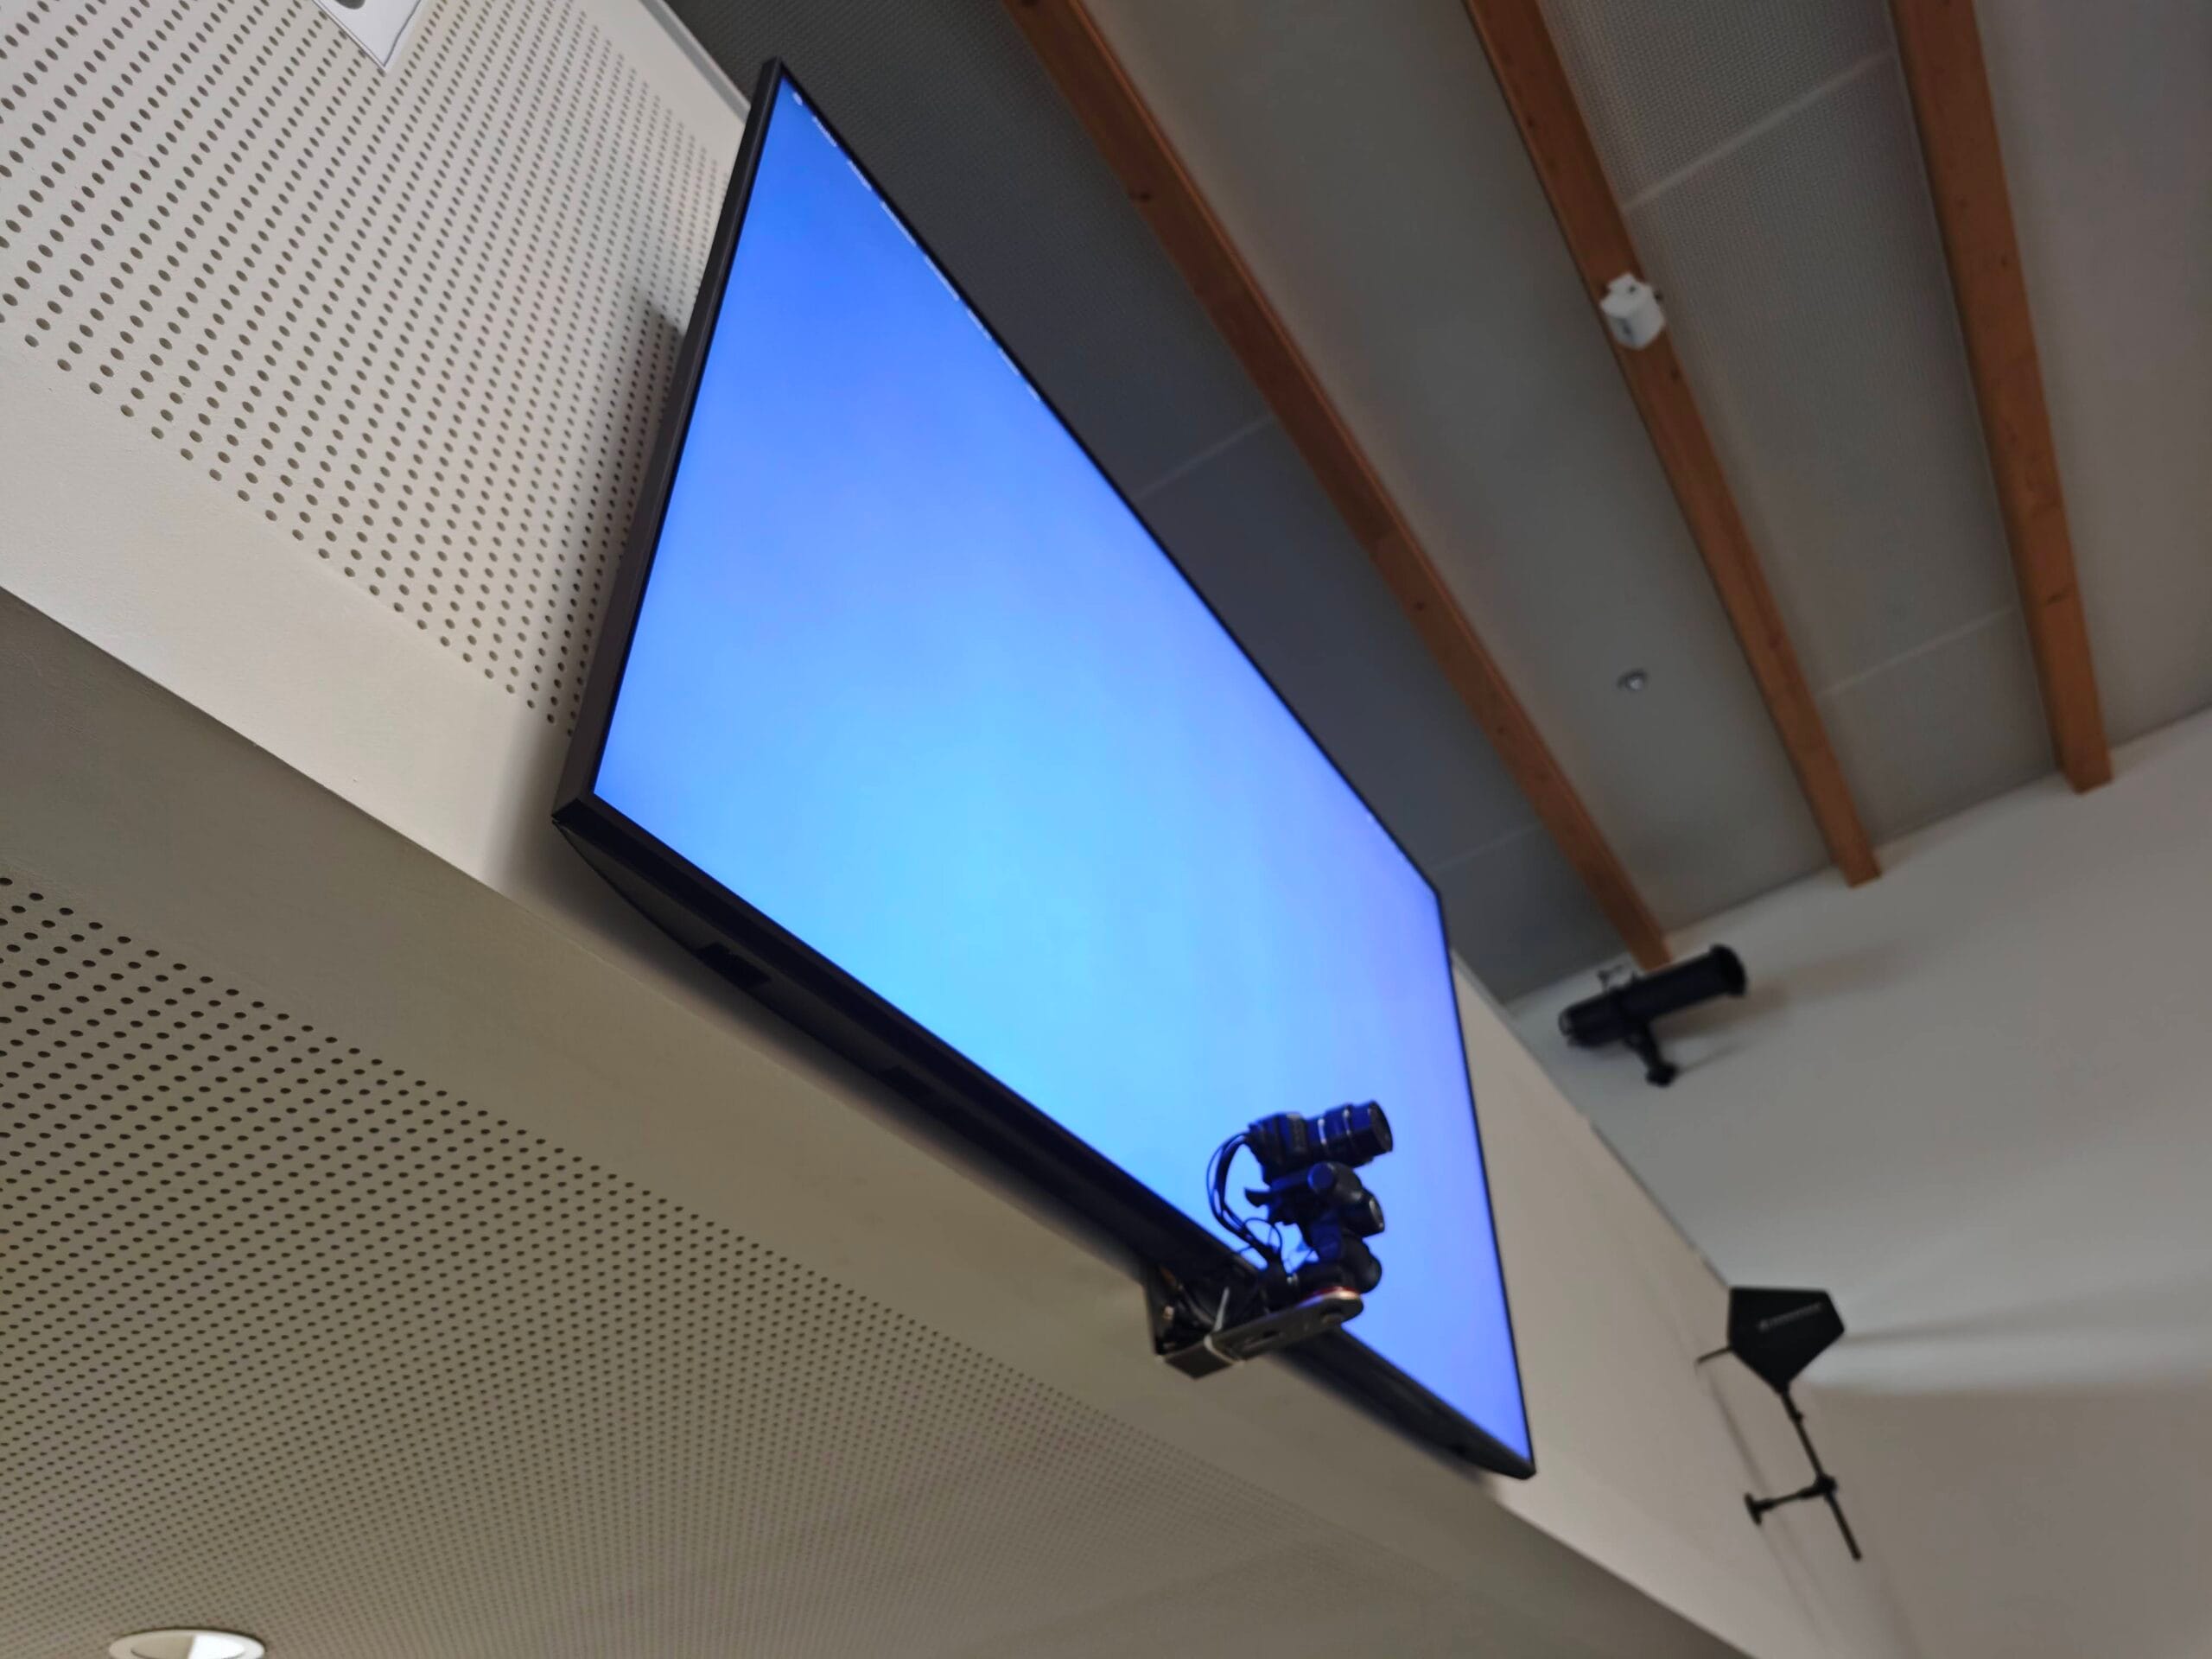
Verify that the StageDisplay is connected
Successfully connected StageDisplay. The StageDisplay should display a blue desktop background when successfully connected.
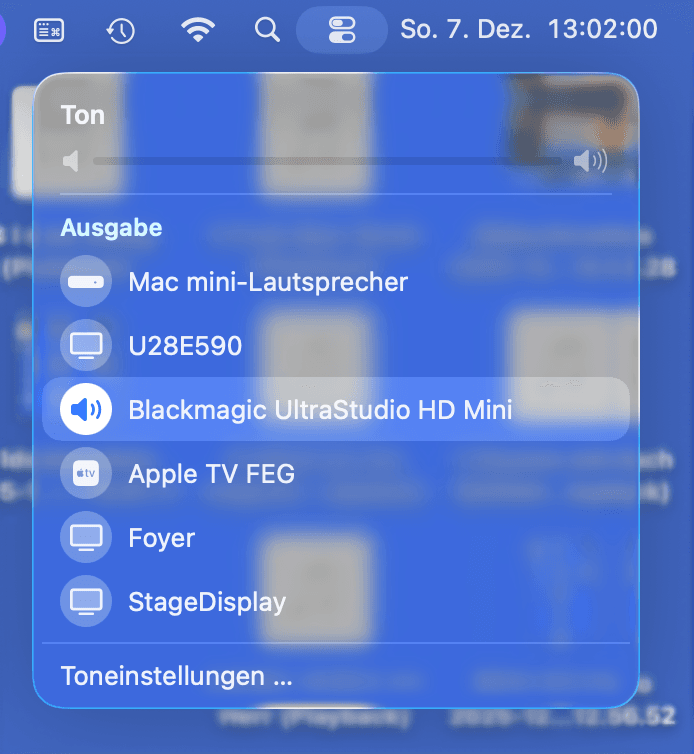
Open the audio destinations
Audio options are at the bottom of the Control Center. Open the Control Center once again. Look for the audio setting at the bottom (“Ton“) and click the round button on the right to open the audio devices.
Redirect audio to the mixer

Selected Blackmagic UltraStudio HD Mini. The sound automatically goes to the StageDisplay and needs to be routed back to the mixer. In this list, click on Blackmagic UltraStudio HD Mini.
Open Proclaim

Proclaim icon Once all the video and audio routing is done, click on the Proclaim icon to open the IBF presentation software. After it opens, check for a blue update banner indicating there is an update ready to install.
Updating will close Proclaim, perform the update, and should reopen the app.
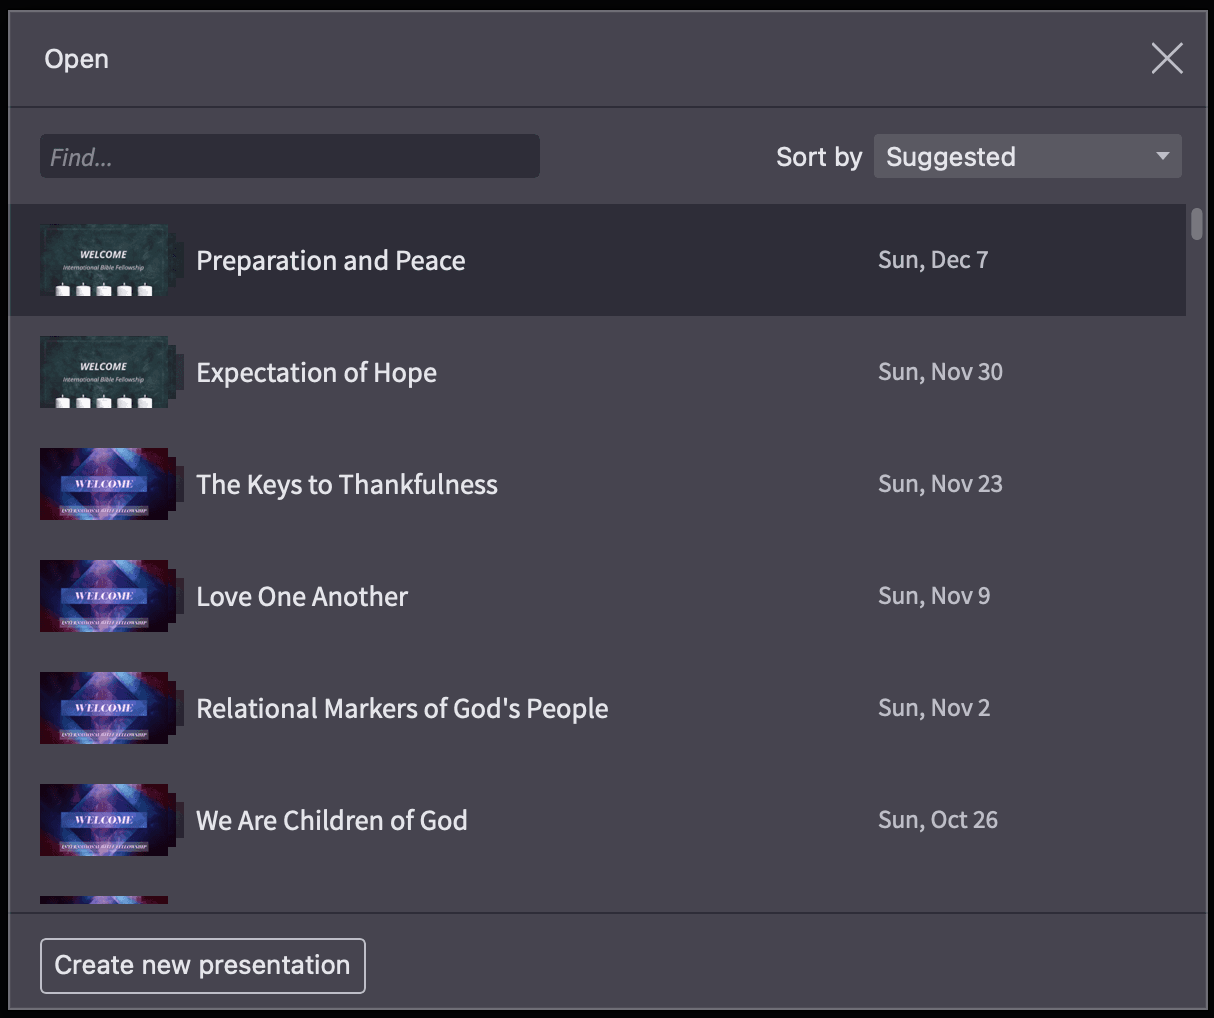
Open the current presentation

Current presentation with title and date. Proclaim shows a list of recommended presentations. At the top of the list should be the current presentation, listed with its title and the service date. Click on it, then give the presentation 1–2 minutes to fully sync all content. A green checkmark at the top right will indicate that it is ready.
Turn on the video projector
The video projector is always powered, and needs to be switched on with the “ON” button on Sony remote.
Also be sure to turn it off after the service with the “STANDBY” button.

Result
By following these steps, your multimedia computer will be fully connected to the main projector, confidence monitor, and livestream system. This setup guarantees synchronized visuals for the congregation and remote viewers, reducing technical issues and enhancing the overall worship experience.